Friday, 27 May 2016
Book Binding – Parchment Block
In front of me, I have a pile of parchments that I'm going to turn into a parchment block. This will form the basis for the cover that I will be binding the next turn.
These parchments from Sal are all close together in size, I need to fold each one in half, that will give the overall page size. I then put four folded sheets together like this, one inside of the other. Into a mini booklet.
These booklets are going to be stitched together, so I need to mark where the holes will go. I now measure a couple of fingers width each side and mark the points all the way to the ends
I need to make sure the holes line up, so I'm going to use the edge and mark along the spine where the holes are going to be on each booklet. It's important to keep the booklets in the order you first arranged them, that way the holes will line up when they are stitched together.
Start on the outside of the booklet, and with a needle and cotton thread through to the inside, and then back out the next hole. Keep going till the last hole, then when you reach then, go back down so it appears to have a continuous line of thread, even though it weaves in and out.
When you get back to the hole you started on, make a loop, thread the needle through and make a knot. Next I lay the second booklet on top, thread from the spine to the inside of that one.
From here it's a little more complicated, I pass the needle from the inside, through the next hole up and back out to the spine. I loop around the first set of thread to hold them together, go back through the same hole to the inside and work up to the next hole.
Each booklet gets joined together, and the one before at the same time. That way the book will remain flat when it's finished. The last booklet is the same as the others, until the last hole.
When you have gone through, make a loop, thread the needle though and pull it into a knot. You can then carefully pull the knot through the hole to the spine so it won't be seen when the book is open
It's very important to line the booklets up at this stage, as I'm about to glue the spine together. The thread is the first part of the books strength, the glue the second. You can use a small wooden press to hold the sheets in place.
While the glue is drying. I have on the table some thicker parchment, two sheets are the same size as the parchment I folded at the start. The third sheet is the same height but about 1/3 the width.
I need to fold the two sheets in half. these will form the front and back inside covers, adding more strength and give me something more substantial to fix the leather cover to.
The final stage is to reinforce the spine. Puts the small er sheet of parchment on the table and lines the spine of the book in the centre. The book on it's edge rising from the table.
I fold the edges up on either side, that way the book will keep its shape. I need to make sure the folds are crisp and straight.
Now can apply another coat of glue to the spine and the inside of this sheet of parchment. Finally for today. I put the whole thing back into the press and leave it to dry.
Korba posted @ 04:09 -
Link -
comments 
Monday, 16 May 2016
Shopping
*A list is written with a neat tick after each item*
Dundee
Glue - Pete
Needle and thread - Heralda
Dagger and straight edge - Cornell
Milltown
Thin wooden boards and a small press - Grinwohld
Fine sandpaper - Hedwidge
Caernivale
Parchment and ink - Sal
Kilican
Leather cover - Inach
Korba posted @ 16:09 -
Link -
comments 
Tuesday, 10 May 2016
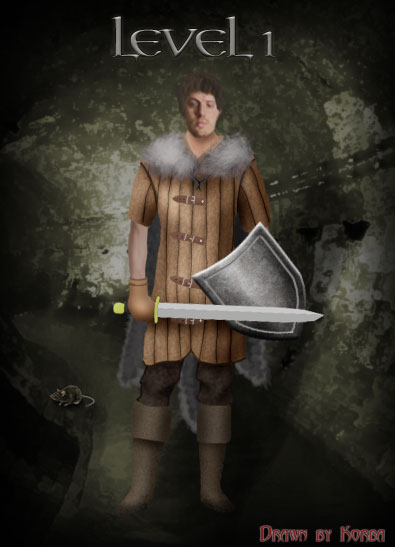
Level 1 - The Sewers
Korba posted @ 02:43 -
Link -
comments 
Monday, 09 May 2016
Mapping Notes
There are three vital elements to mapping, without all the elements the whole process breaks down. They are first, direction. Secondly distance, and thirdly accurately recording that information. It's often the final part that causes the most problems. Notes made in the field can often become a complicated tangle of lines and notes when you get back to civilization.
Direction is perhaps the easiest, compasses make recording north, south east and west simple, and then we have up and down. Again all very intuitive. Distance is much more tricky. It can be very hard to tell how far you have traveled. I find the easiest method is to count my strides and then compare it to something similar, for example here in this rooms it's quite easy to count how many strides it takes to cross the room, and we have an idea how large the area is before we leave.
If at all possible you should travel in a straight line for the entire length, or width of an area. I would also suggest you start from a corner or edge. This way you can map the boundaries of the area and fill in the details later. If you can take strides the same length time and again, then you have an accurate, ish, way of recording distance. This combined with direction gives you the start of a map.
As I said near the beginning, its the final stage, the recording that's often the biggest challenge. However there a few techniques that help. I will try and explain with some examples. The first is start at a known point, ideally with an obvious feature like a life monument, that way you always have a point of reference you can work back to. That way even if you are forced to take a winding path you can always retrace your steps and have useful information. For example...
If you started from the Milltown life monument, headed into the desert in a random pattern but kept an accurate track of your distance and direction. When you eventually reached another landmark, such as the anthill. You wouldn't have a map but you would have a path mapped that anyone else could follow.
A better technique would be to start at the life monument and head east until you reach the wall, head north and then back west until you reach the mountains having crossed the anthill. That way you would have Milltown, the wall, the mountains and the anthill all mapped in relation to each other. And much more quickly.
The next technique is to stay on the same level for as long as possible. If you try and complicate your mapping by going up and down it can become virtually impossible to keep track of your path. I'm sure everyone here has been to the dark forest, once you get the hang of it it's easy enough to navigate. Now imagine going through the forest, climbing into the canopy, back down again and then up again. I know that would confuse me. It's much easier to map your limits on one level before moving up or down and repeating.
That's a simple example, the desert tombs in N'rolav, or worse yet the anthill this is essential.
Korba posted @ 05:02 -
Link -
comments 
Thursday, 05 May 2016
Valorn in the Golden Age[url=http://dgmaps.dgplayers.co.uk/images/art/large-ga-valorn.png]

[/url]
*The ink on the penmanship seems to be of a higher quality and has a rich lustrous quality*
Korba posted @ 04:59 -
Link -
comments 
Tuesday, 03 May 2016
Thorne Blackrose[url=http://dgmaps.dgplayers.co.uk/images/art/Thorne-Blackrose.jpg]

[/url]
Korba posted @ 13:18 -
Link -
comments 043299 visitors


 Friday, 27 May 2016
 Monday, 16 May 2016
 Tuesday, 10 May 2016
 Monday, 09 May 2016
 Thursday, 05 May 2016
 [/url]
 Tuesday, 03 May 2016
 [/url]